Monday, December 13, 2010

Start with a new image.
My image is 3600x3600 300 DPI.
Choose the color of your heart. I've chosen 8e0202

Go to your Custom Shape tool and choose the "Custom Shape Tool"

Make sure your settings are like mine. (If you don't do these, when you use the Warp tool you'll find that the edges become blurry very quickly, but leaving these settings will allow you to warp and play around as much as you like without blurring the edges).
I'm using the "Raindrop Custom Shape"

Draw out the shape as I have here.

We want to flip this shape now.
A quick way to do this is to do a CTRL+T (Transform shortcut).
Do a right mouse click over the shape and choose "Flip Vertical" from the menu and hit Enter.

Do another CTRL+T and this time choose "Warp" from the menu.

Pull the handles around until you get a shape that is fairly close to this.
It takes a little getting used to, but once you get the hand of this you'll love the warp too.

Once you have the shape you like you'll want to duplicate that layer. You can highlight the layer you're on and do a right mouse click and choose "Duplicate Layer" or you can use the shortcut key which is CTRL+J.

Now we want to filp this duplicated layer so it's opposite of our original shape.
Do a CTRL+T and choose "Flip Horizontal" from the menu. Hit Enter.

Zoom in at 100% on your image and make sure that the bottom points match up.

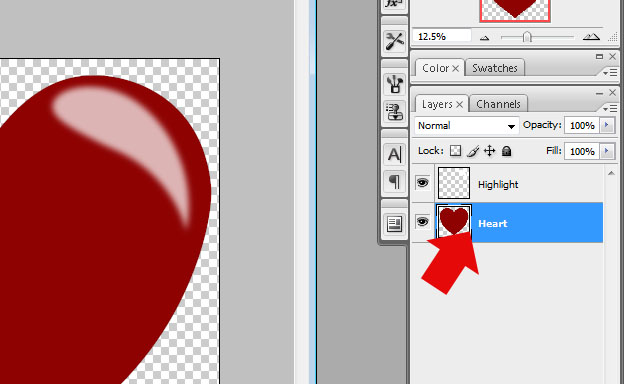
Your heart shape is now complete. Hightlight both the shapes in the Layers Pallet and do a CTRL+E (Merge)

Now to add the highlight. Going back to your Custom Shape tool, use the same settings we did in the earlier step, but this time make sure that your color is white.

Draw your shape out like I have here.

We need to flip the shape sideways. Do a CTRL+T and then do a right mouse click over the new shape. Choose "Rotate 90 CW" and hit Enter.

Now do another CTRL+T and choose the settings above. The first is the Warp setting and the second is the Arc from the drop down menu. Use the settings in the Arc that Photoshop has preset.

Move the highlight into the corner as I've done here.

It's a good idea to rename your layers. (Well, it is for me) :)
Now highlight the "Highlight" layer in the layers Pallet

Go to the Filter, Blur, Gaussian Blur (It will ask you if you want to Rasterize your layer, say yes)

Choose the amount of blur you want to give your highlight. I have mine 24 because of the size of my image. Adjust yours according to your image. Just make sure that it has about the same amount of blur that mine does in the example above.

Now you can go the Opacity and change that to about 75%.
Now we'll add some shading. Double click on the Heart Layer to bring up the Blending Options.

Go to the "Inner Shadow" tab and choose a color that is a little darker shade then the heart.
If your image is as large as mine, use the settings I have here. If it's smaller, adjust so it looks about the same.

Now do the same thing with the "Inner Glow" except, change the "Blend Mode" to "Multiply".

Here is the final result of my heart with the highlight.

Here I've shrunken the highlight a bit.
If you have any questions or suggestions please email me at justcreations@ymail.com
Subscribe to:
Post Comments (Atom)
Proud Designer for


Grab My Blinkie

 >
>

0 comments:
Post a Comment